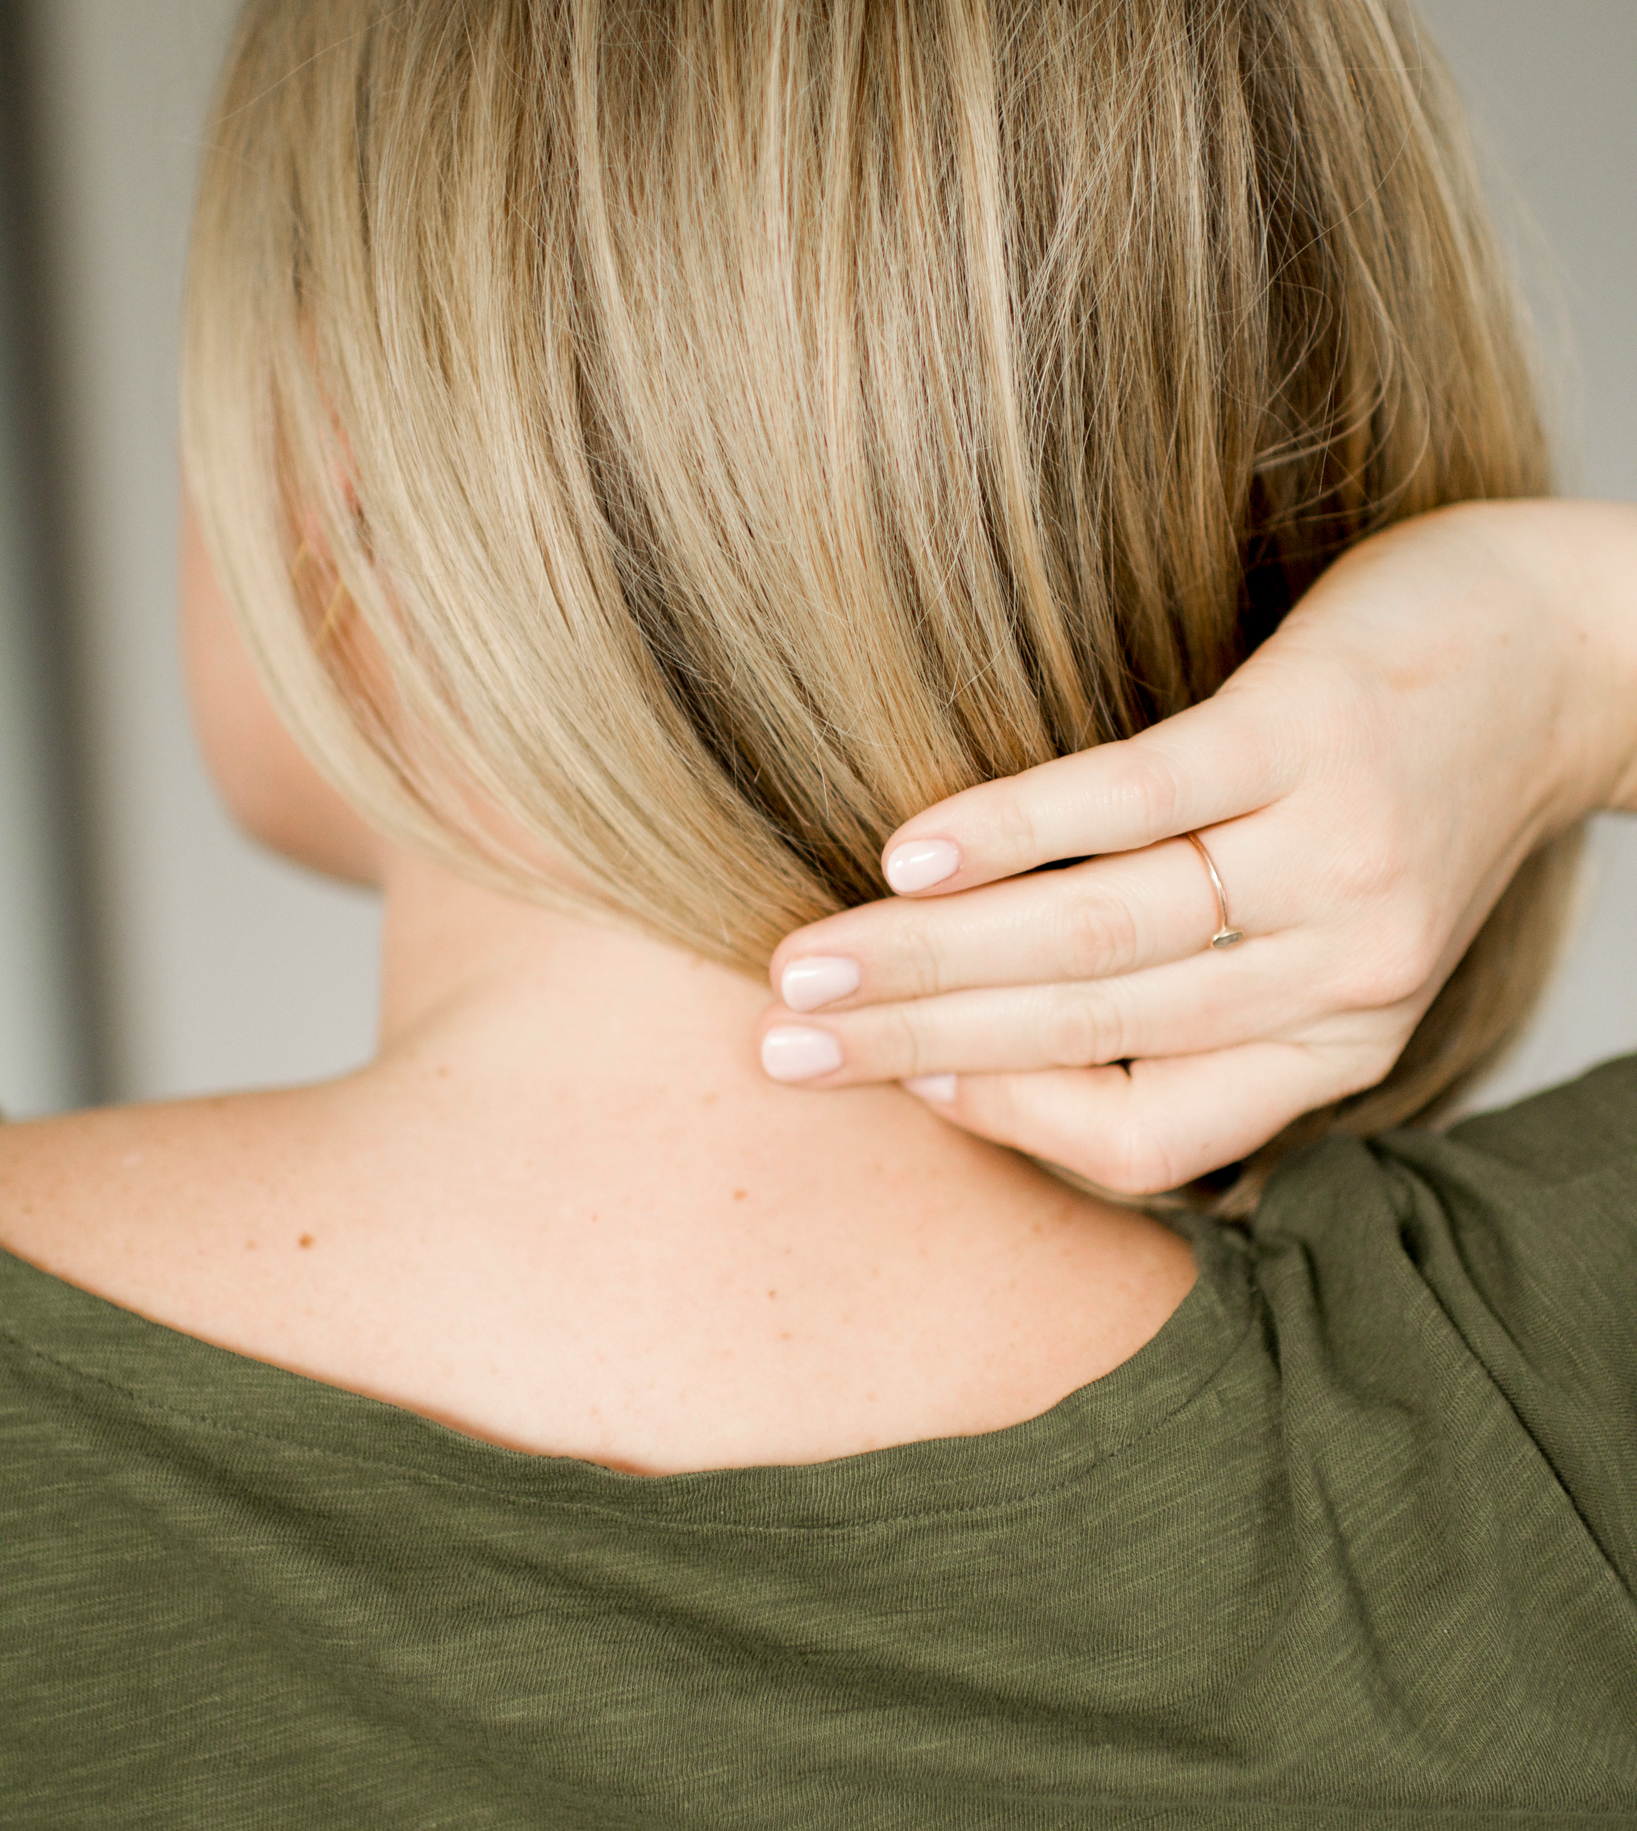
I talked about this gel manicure kit back in December and heard from so many of you that you got it for Christmas! I thought I should share a few of my favorite products to use when I do my at-home gel manis and also walk you through the steps!

I’ve had the most success with Gelish pH Bond, Foundation, and Top Coat. The brush sizes are easy to work with and the products really work. For color choices, I’ve enjoyed using Gelish, OPI Gel and CND Shellac. Depending on the color I can usually get away with only 2 coats, but the lighter, more sheer colors require 3 coats. OPI Taupeless Beach and CND Shellac Romantique have been on repeat this winter season!

The steps I take in order to prep the nails before applying the polish are almost MORE important than applying the color itself. I’ll walk you through each step and explain what I do so you can have success with your home gel manicures as well!
- Remove all existing nail polish with acetone nail polish remover.
- Apply cuticle remover (this is my favorite product).
- Push back and trim cuticles so the bed of the nail is completely clean from any skin, flakes, or cuticles.
- Shape nails with nail file, trying to only file in one direction versus sawing back and forth.
- Using a buffer, buff the nail enough to take away any shine, this will help the product adhere a bit better.
- Wash hands with water but without soap.
- Dry with a washcloth so no fibers from paper towels or tissues get onto your nails.
- Apply pH Bond to nails on left hand.
- Apply a thin coat of base coat, carefully getting close to the cuticle without touching it, and spreading the product all the way over the edge of the tips of your nails. This is very important! Running the brush along the edge of your nails with just a tiny bit of product will “cap” the nail so you will avoid chips.
- Cure base coat under light for recommended time based on your light. Mine is 45 seconds.
- Apply color coat, in a thin layer, to 3 nails, making sure to cap the ends as well, then cure under the light.
- Apply color coat to the last 2 nails, cure under the light. All nails should have 1 thin coat of color now.
- Repeating steps 11 & 12, apply thin coats of color until desired result. I break this step into two steps because I find by time I make it to my thumb after starting with my pinky nail, the product can pull back from the tip a bit. I want to avoid that, so I cure it faster.
- Apply top coat, but don’t let the product ball up on the tip of the brush. A little goes a long way here as well, and you do not want top coat sliding off the side of the nail onto the cuticle.
- Cure as recommended, then repeat the entire process on the opposite hand.
- After nails are completed, soak a cotton ball in rubbing alcohol and swipe along the nail. This will remove the tacky surface that will result.
- Finish with hand cream and enjoy your beautiful nails!
Once you do this a few times, you should be able to operate on autopilot like I can. I like to catch up on This Is Us or Jimmy Fallon episodes while I do my nails and the whole process is relatively quick and easy. It takes me about 45 minutes from start to finish. That’s roughly the same time that it would take at the salon but it’s MUCH cheaper and I don’t have to drive anywhere to do it!
Edited to add: I’ve gotten a few questions about my home removal process so I thought I’d add those steps to the post as well!
- Using a buffer or nail file, buff or file the top coat of the gel a few times to “rough” up the surface a bit. Again, this is on the top coat of the gel, not your actual nail.
- Place finger on a small piece of aluminum foil, perhaps 3 inches by 3 inches.
- Place a small piece of cotton (I like to rip a cotton ball into about 3 sections) soaked in acetone on top of the nail.
- Wrap foil around nail to hold cotton in place. Allow to soak for 7-15 minutes.
- If done correctly, the gel should simply slide off your nail bed with out any filing or buffing of your nail bed required!
p.s. Check out this video for steps for a long-lasting gel manicure! Plus, if you’re looking for a cute and simple crossbody bag and great booties for spring, check these options out!
The post Steps for a Gel Manicure + My Favorite Products first appeared on The Small Things Blog.